Building an AI-Powered Chatbot with Next.js and OpenAI

This article walks you through building a modern, AI-powered chatbot using Next.js and OpenAI’s API. It starts by setting up your development environment, installing necessary packages, and creating a new Next.js project. You’ll build an intuitive chat UI using React, implement chat logic with hooks, and connect to OpenAI’s API via custom API routes.
The guide also covers:
By the end, you’ll have a fully functional chatbot that can handle natural language inputs, engage users, and improve customer interaction — all powered by OpenAI’s large language models and Next.js’s robust frontend capabilities.
Chatbots have become one of the most impactful applications of artificial intelligence (AI), transforming how we interact with technology and complete tasks efficiently. According to recent surveys, executives leveraging tools like chatbots, machine learning, robotic process automation (RPA), and natural language processing (NLP) report productivity increases of up to 40%.
With the growing need for chatbots that can comprehend natural language and deliver relevant replies to consumers and website users, pdevelopers and businesses alike are actively exploring and improving existing solutions.
OpenAI's suite of Large Language Models (LLMs) has significantly accelerated chatbot development. While most of the models can be used as chatbots on the OpenAI website, developers can also use an API to construct chatbots that are more specific and better suited for certain use cases.
The chatbots available in today's market don't just work on a predefined dialogue; rather, they are intelligent systems that understand the natural language input from any user and provide relevant and tailored outputs. These chatbots can hold conversations for a longer time and help customers better, while contributing to customer engagement too.
In today's landscape, chatbots are a standard feature on customer-facing websites, providing visitors and users with immediate answers and a wide range of other functionalities for each site. Around 23% of organizations in the customer service niche prefer using AI chatbots to address customer queries promptly and accurately. Though there are a lot of technologies that you can build your websites in, Next.js and OpenAI APIs are the ideal choice when it comes to building future-proof chatbot products.
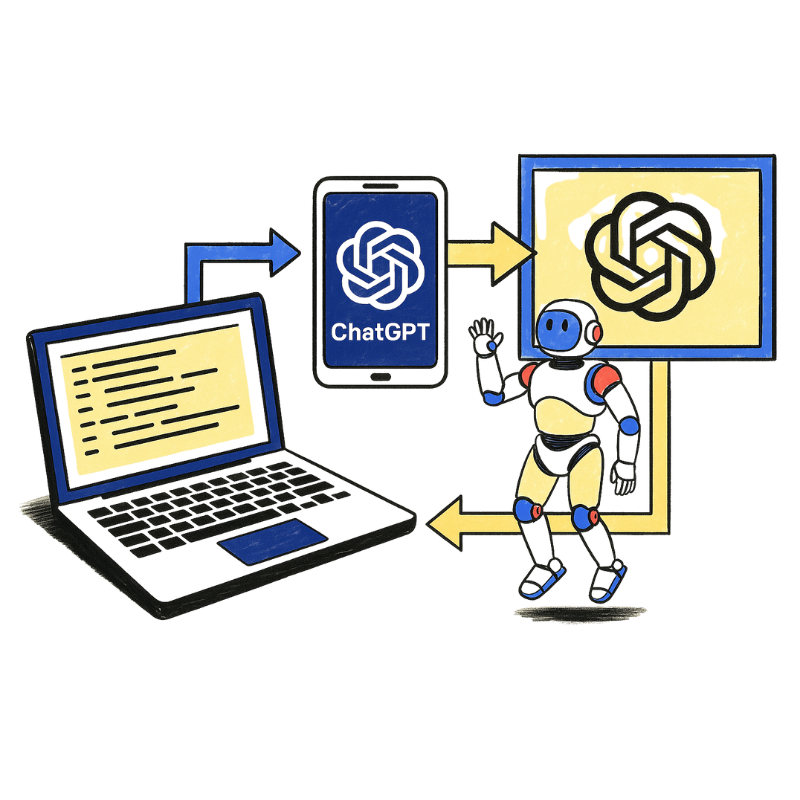
If you’re looking to build your own AI-powered chatbot, Next.js and OpenAI APIs make a powerful combination. Next.js offers a modern, efficient React-based framework that streamlines development and deployment, while OpenAI’s APIs provide access to some of the most advanced LLMs available.
In this guide, we’ll walk through the complete process—from setting up your development environment to building an intuitive UI and integrating OpenAI’s API to bring your chatbot to life.
.png)
The first step in building your chatbots is to set up the development environment correctly. In this section, we will explore how to create a new NextJS project, get your API key from OpenAI, and write some boilerplate code to use that API key.
Before we create a new NextJS project, you should first create a new folder that will contain all the code that we will write later. So, create a new folder and move to that folder. Once that is done, open the command prompt and type the following command to create a new NextJS project.
npx create-next-app@latest
Once you write the above command and press Enter, you will be asked for more details like the app name, CSS framework, and other configurations for the new project. Select appropriate options based on your environment and usage, and at the end, this will create a new NextJS project in your current folder.
To install dependencies, open your command prompt from the new project folder that we created in the previous step. Once your command prompt is opened from the new folder, run the following command to add the OpenAI npm package.
npm install openai
Before moving forward, you need to have an API key for your OpenAI account. To get the API key, head over to OpenAI’s page, log in with your credentials, and create an API key from the dashboard. After getting the API keys, store them somewhere safe so you don’t lose or expose your API keys.
After completing the project’s environment setup and getting API keys, this is where things get interesting. In this section, we will build the UI components that will power the chatbot interface for your application using NextJS.
A good chatbot UI will encourage users to engage and use the chatbot frequently, whereas a bad UI will leave users struggling with the chatbot. If you want your users to use the chatbots and make awesome efficiency and productivity gains, you should not miss out on designing an intuitive UI.
For the chatbot's UI, we will have three main components. One is the message bubble that will wrap the actual message, a scrollable messaging window that the user can scroll to find past chats, and an input box where the user can add their input to engage with the AI-powered chatbot.
Below is a code for the NextJS framework to implement a UI for the chatbot.
// components/ChatUI.jsx
import React from "react";
export default function ChatUI({ messages, onSend }) {
const [input, setInput] = React.useState("");
const handleSend = () => {
if (input.trim()) {
onSend(input);
setInput("");
}
};
return (
<div className="flex flex-col h-screen p-4 bg-gray-100">
<div className="flex-1 overflow-y-auto mb-4 space-y-2">
{messages.map((msg, i) => (
<div
key={i}
className={`max-w-xl px-4 py-2 rounded-lg ${
msg.sender === "user"
? "bg-blue-500 text-white self-end"
: "bg-white text-gray-800 self-start border"
}`}
>
{msg.text}
</div>
))}
</div>
<div className="flex">
<input
className="flex-1 px-4 py-2 border rounded-l-lg"
value={input}
onChange={(e) => setInput(e.target.value)}
onKeyDown={(e) => e.key === "Enter" && handleSend()}
placeholder="Ask me anything..."
/>
<button
className="px-4 py-2 bg-blue-600 text-white rounded-r-lg"
onClick={handleSend}
>
Send
</button>
</div>
</div>
);
}
In the previous section, we added the chat UI, and here we will implement the actual chat logic using hooks. By implementing this chat logic, we will be able to utilize the OpenAI chat API and also show past chats during a session for the user.
Below is the code for chat logic that can connect to API endpoints and show past chats.
// pages/index.jsx
import React, { useState } from "react";
import ChatUI from "../components/ChatUI";
export default function ChatPage() {
const [messages, setMessages] = useState([
{ sender: "bot", text: "Hello! Ask me anything 🚀" },
]);
const sendMessage = async (userInput) => {
const newMessages = [...messages, { sender: "user", text: userInput }];
setMessages(newMessages);
const res = await fetch("/api/chat", {
method: "POST",
headers: { "Content-Type": "application/json" },
body: JSON.stringify({ messages: newMessages }),
});
const data = await res.json();
setMessages([...newMessages, { sender: "bot", text: data.reply }]);
};
return <ChatUI messages={messages} onSend={sendMessage} />;
}
By now, we have our frontend for the AI-powered chatbot ready, from which the user can send a message to an API endpoint, and also see past chats. Moreover, the intuitive UI that we have created needs an actual chatbot backend where the user's messages/queries can be submitted to get a response. So, in this section, we will connect our chatbot to the OpenAI API.
In NextJS applications, all pages and routes are stored inside the /pages/api folder in the project’s folder. This helps in structuring your pages better and also allows you to have a single place from which you can handle all your pages. So now, let’s create an API route that we can use to send requests to OpenAI’s APIs and get responses to show for each user query.
Below is the code to do so.
// pages/api/chat.js
import { Configuration, OpenAIApi } from "openai";
const configuration = new Configuration({
apiKey: process.env.OPENAI_API_KEY,
});
const openai = new OpenAIApi(configuration);
export default async function handler(req, res) {
if (req.method !== "POST") {
return res.status(405).json({ error: "Only POST method is allowed" });
}
const { messages } = req.body;
if (!messages || !Array.isArray(messages)) {
return res.status(400).json({ error: "Invalid message format" });
}
// Convert chat history into a format GPT understands
const prompt = messages
.map((msg) => `${msg.sender === "user" ? "User" : "Assistant"}: ${msg.text}`)
.join("\n") + "\nAssistant:";
try {
const completion = await openai.createCompletion({
model: "text-davinci-003", // or "gpt-4" if you have access
prompt: prompt,
temperature: 0.7,
max_tokens: 200,
});
const reply = completion.data.choices[0].text.trim();
res.status(200).json({ reply });
} catch (error) {
res.status(500).json({ error: "Failed to generate response", details: error.message });
}
}
No LLM model is free from the hallucination problem, where it keeps giving the same wrong answers every time, and that is where you need to step in. If it were just about connecting API endpoints, everyone would do it, but handling dynamic conversations and improving the accuracy of your chatbots is the tricky part.
One way how you can improve the accuracy of your AI-powered chatbots is by sending the chat history for context. The newer models like GPT 3.5/4 turbo models support this approach by utilizing the chat/completions endpoint and messages structure.
By sending the chat history, your AI-powered chatbot will face fewer hallucination issues, and it will also improve the accuracy of the responses due to more context behind each message.
Providing a seamless performance through AI-powered chatbots is important for utilizing the chatbot correctly. In this section, we will uncover how you can add error handling and enhance the user experience on your application.
NextJS has built-in error-handling functionality that helps you provide a bug-free experience to users. The error-handling functionality ensures your web apps don’t crash and return critical errors directly to users who aren’t concerned with it.
To add error handling, you should wrap your API calls to the OpenAI API with try-catch blocks and enable exponential backoff. This will stop you from exhausting your API limits when there is any error in your application. Moreover, it will also log the errors to your log files and restrict sharing the errors to unauthorized users who can misuse such error tracebacks.
%20(1).png)
If you have followed till now, you would have a perfectly working AI-powered chatbot built with NextJS and OpenAI APIs for powerful models. You’d also have an amazing UI, using which the users can interact with your chatbots. Once you start hosting significant traffic for your chatbot, you should think of scaling it using Kubernetes or Docker on cloud platforms to provide better availability under all load conditions.

Explore CS Prep further in our beginner-friendly program.
Get more free resources and access to coding events every 2 weeks.

Connect with one of our graduates/recruiters.

Our graduates/recruiters work at:
Harikrishna Kundariya, is a marketer, developer, IoT, Cloud & AWS savvy, co-founder, and Director of eSparkBiz, a Software Development Company. His 14+ years of experience enables him to provide digital solutions to new start-ups based on IoT and SaaS applications.

Connect with one of our recruiters to learn about their journeys.
Our graduates/recruiters work at:

Copyright @ 2025 Codesmith | All Rights Reserved
Terms and ConditionsPrivacy PolicyRegulatory Information
.png)
.png)